AI Image Generator
Create from any text, or restyle from an image. Photos, illustrations or stylized art — in seconds, right in your browser.
Drop your photo here
or · JPG or PNG
Sign in to create
One click with Google — no password needed. New here? Your Google account creates one automatically.
Private by default · No installation · Works on mobile
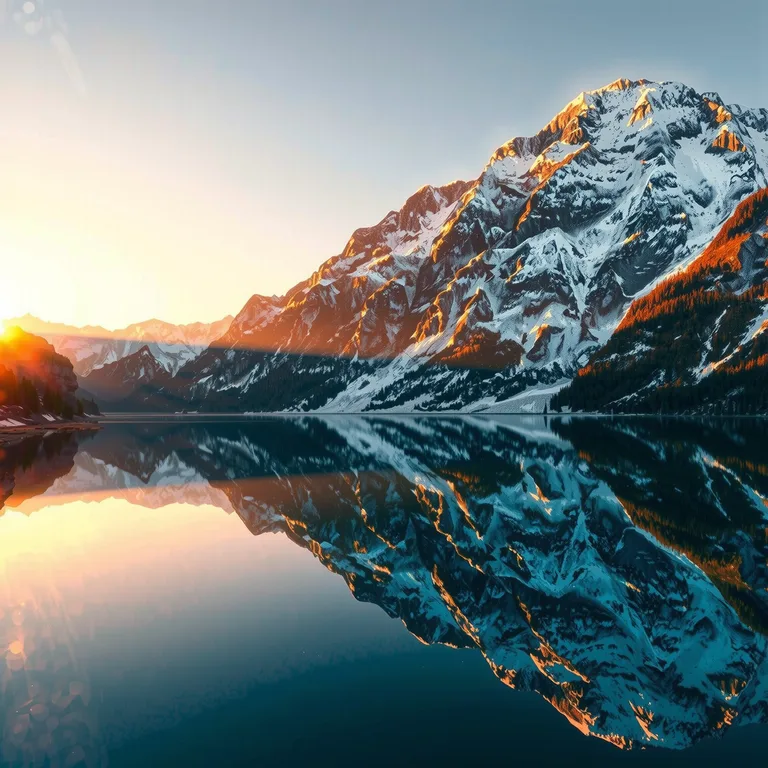 SAMPLE IMAGE
“Snow-capped mountains reflected in a crystal-clear alpine lake at sunrise” — made with FLUX Text to Image.
CreateAI Image Generator: Create from Any Text or Restyle from an Image
Text to Image
Describe it; get photos, illustrations, or stylized art in seconds.
Image to Image
Upload a photo; keep structure while changing style, lighting, or mood.
Reference Images
Guide results with reference images for consistent style, pose, and palette.
AI Image Editor: Edit by Text Prompts Easily Without Leaving the Page
Fix & Colorize
Restore old photos and bring black-and-white shots back to life with natural colors.
Background Change
Isolate your subject and drop in a new scene for clean, professional images.
Upscale & Enhance
Boost resolution and detail up to 4× without losing composition.
What You Can Make with Kanakaw
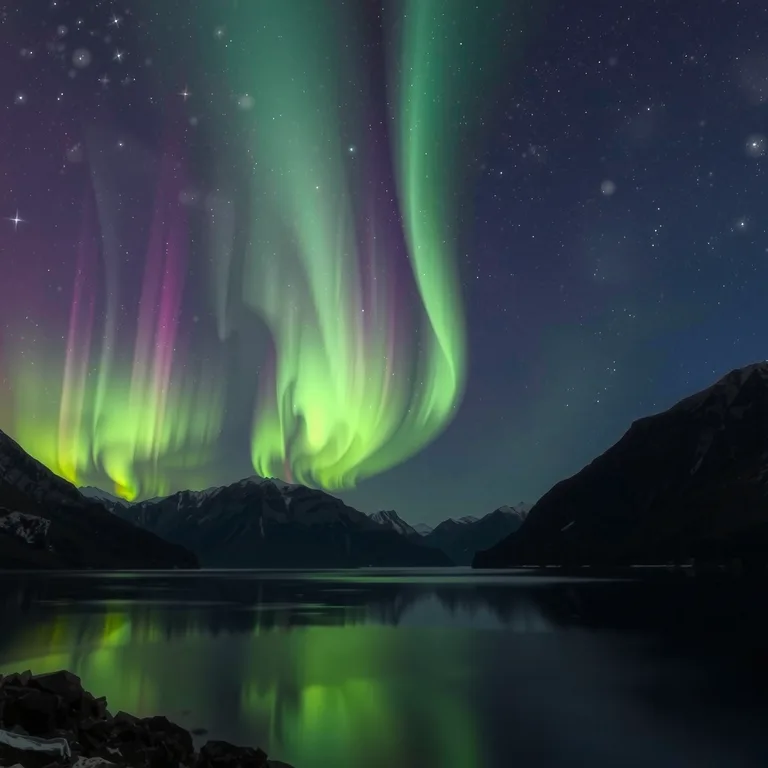
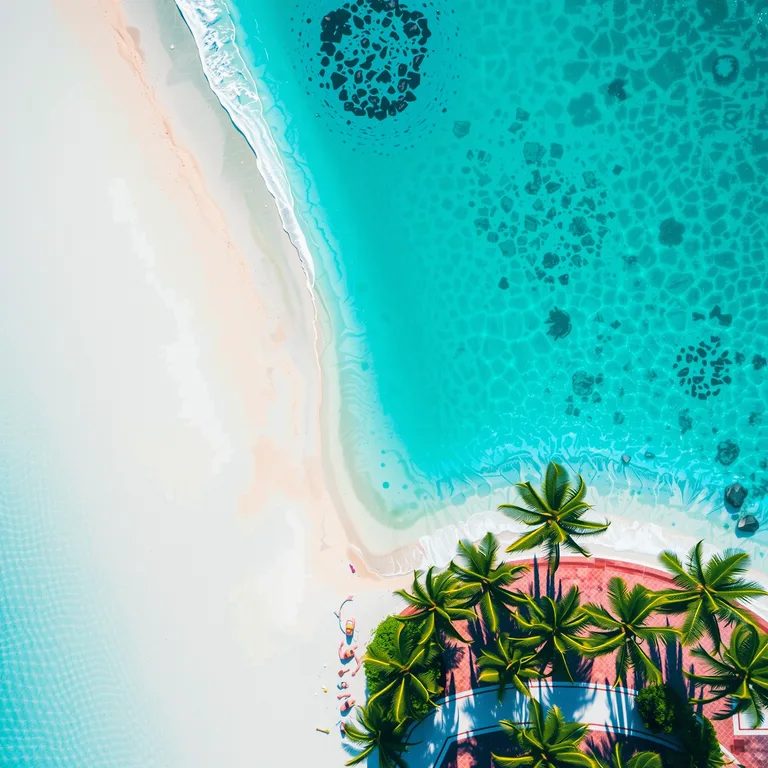
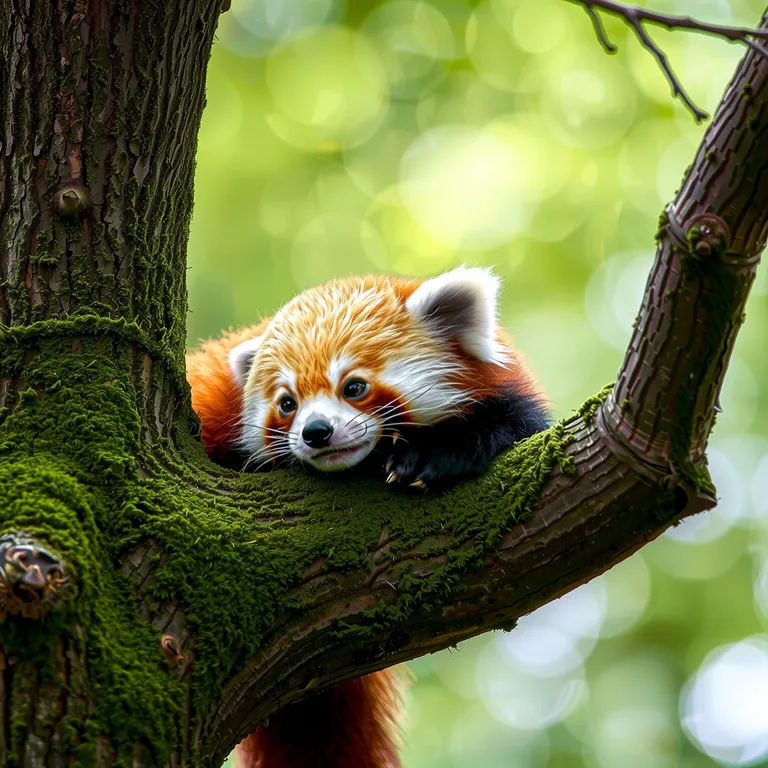
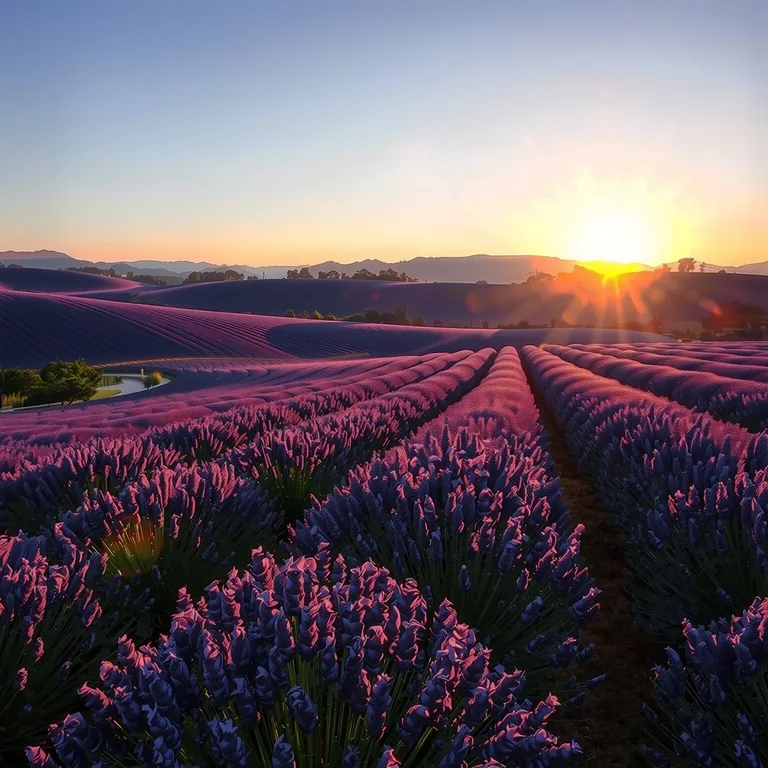
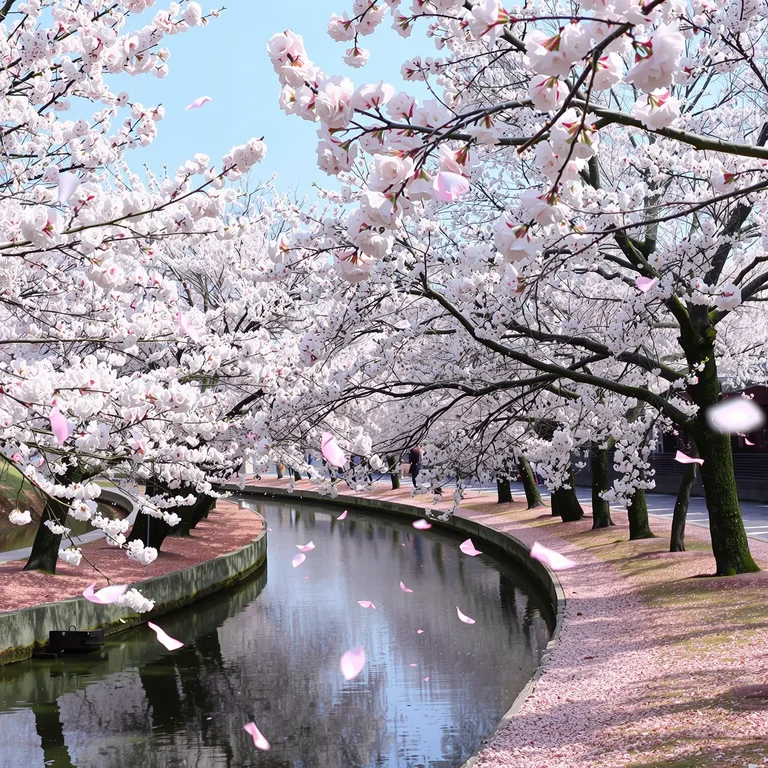
Everyday tasks, done fast. All images below were generated on this site from a single text prompt.
Why Choose Kanakaw as Your AI Image Solution
All-in-one
Generate, restyle, edit and upscale in one workflow — then animate the result into video.
Model choice
FLUX, SDXL, Seedream and Z-Image models. We integrate the best models and let you pick the one that fits your goal.
Speed & quality
Fast drafts, refined final images. Most images render in seconds with live progress.
Start to Create in 3 Steps
Prompt or Upload References
Write a prompt, or upload a photo to restyle.
Pick a Model & Size
Choose a model and aspect ratio in the generator.
Generate, Then Edit or Export
Download in full resolution, upscale it, or animate it into video.
How to Write a Good Text-to-Image Prompt
A good prompt is a short brief, not a single word. Five ingredients cover almost every image: subject, style, lighting, composition and mood.
Most disappointing results from an AI image generator come from prompts that are too vague, not from the model. “A dog” leaves every decision to chance: breed, setting, angle, light, style. “A golden retriever puppy sitting in a sunlit meadow, soft morning light, shallow depth of field, photorealistic” answers those questions for you. You do not need long prompts — you need specific ones. A useful habit is to build every prompt in the same order, so nothing important gets forgotten.
1. Subject: say exactly what is in the frame
Start with the main subject and one or two defining details: what it is, how many of them there are, and what they are doing. “A red panda” is a start; “a red panda resting on a moss-covered branch, tail curled around the wood” is a picture. If a detail matters to you — the colour of a dress, the breed of a dog, the number of people — write it down. Anything you leave out is a guess the generator has to make.
2. Style: name the look you want
The same subject can be a photograph, a watercolour, a flat vector illustration, a 3D render, an oil painting or a pencil sketch. The generator cannot know which one you mean unless you say so. Style words do the most work in a prompt after the subject itself: “photorealistic”, “cinematic”, “flat vector illustration”, “studio product photo”, “storybook watercolour”. Pick one style per prompt — mixing “photorealistic” and “cartoon” in the same sentence pulls the result in two directions.
3. Lighting: the fastest way to change the feel
Light decides whether an image feels warm, dramatic or clinical. “Golden hour”, “soft window light”, “neon glow”, “overcast daylight” and “studio lighting” each produce a visibly different result from the same subject. If your image looks flat, the missing ingredient is usually light, not detail: add where the light comes from and how strong it is.
4. Composition: where things sit in the frame
A few framing words keep the subject where you want it: “close-up”, “wide shot”, “top-down view”, “centred composition”, “rule of thirds”, “looking into the distance”. This matters most for product shots, portraits and posters, where a subject lost at the edge of the frame is hard to use. Pair the framing with the aspect ratio — a wide 16:9 frame suits landscapes, a tall 9:16 frame suits a single standing figure.
5. Mood: one adjective is enough
Finish with the feeling: “calm”, “playful”, “dramatic”, “cozy”, “festive”. Mood words are cheap and they steer colour, contrast and expression at once. One is enough; three mood words usually fight each other.
Four example prompts to copy and adapt
Photorealistic landscape: “Snow-capped mountains reflected in a crystal-clear alpine lake at sunrise, golden light, thin mist over the water, photorealistic, wide shot.” Subject, light, mood and framing are all present, which is why this kind of prompt is so reliable.
Product photo: “Minimal product photo of a matte black ceramic coffee mug on a light wooden table, soft window light from the left, shallow depth of field, clean uncluttered background.” Product prompts work best when you describe the background as carefully as the product — a messy background is the most common reason a product shot looks amateur.
Illustration: “Flat vector illustration of a cozy reading nook with a cat asleep on a bookshelf, warm autumn palette, clean shapes, no text.” Naming the illustration style up front keeps the result graphic instead of photographic, and “no text” avoids the garbled lettering image models still struggle with.
Portrait: “Studio portrait of a smiling woman in her thirties, soft key light, neutral grey background, natural skin texture, 85mm lens look.” For portraits, keep the background simple and name the lens or framing — it reads as a photography brief and the model follows it.
Finally, iterate instead of rewriting. If a result is close but the light is wrong, change only the lighting words and generate again; if the composition is off, change only the framing. Changing one thing at a time is how you learn what each word does, and it costs fewer credits than starting from scratch every time.
Image Styles and Aspect Ratios: Pick the Right Shape for the Job
Style decides how the image looks; aspect ratio decides where it can be used. Choose both before you generate, not after.
An AI image generator can imitate almost any visual style, but it cannot fix a wrong shape. An image made for a phone story will look cramped on a desktop banner, and a wide landscape cropped into a square loses the edges that made it good. The two choices belong together: pick the style for the feeling, and the ratio for the place the image will live.
Styles worth trying
Photorealistic is the default choice for product shots, portraits, travel scenes and anything that should pass as a real photograph. Cinematic adds dramatic light and shallow depth of field, and suits posters and hero images. Flat vector illustration and minimal line art work for icons, blog headers and social posts where a photo would be too busy. Watercolour and storybook illustration suit children’s content, invitations and greeting cards. 3D render gives clean, glossy product and character visuals. Try the same prompt in two styles before settling — the style word alone can change the result more than any other part of the prompt.
16:9 — Wide landscape
Desktop hero images, website banners, presentation slides and video thumbnails. The natural shape for scenery, city skylines and anything with a horizon.
9:16 — Tall vertical
Phone stories, Reels, Shorts and TikTok. Built for full-screen vertical viewing — use it for a single standing figure, a tall building or a phone wallpaper.
1:1 — Square
Social feeds, profile pictures and album covers. The safest all-rounder: it crops cleanly almost anywhere and keeps the subject centred.
4:3 — Classic frame
Blog headers, slides and product listings. Slightly wider than square, close to the shape of an old television or a classic photograph.
3:4 — Portrait
Portraits, Pinterest pins and book covers. Tall enough for a head-and-shoulders portrait with breathing room above and below.
2:3 — Poster
Posters, flyers and print. The tallest ratio on offer — use it when the image needs to hold text or a headline above the subject.
When in doubt, generate in the ratio the image will actually be published in. Cropping a finished image throws away pixels and often cuts the subject; generating in the right shape from the start keeps the composition intact. And if you plan to upscale for print, pick the ratio first and upscale last — upscaling cannot restore a composition that was cropped away.
Standard vs Premium: Two Ways to Generate, Powered by Four Image Engines
FLUX, SDXL, Seedream and Z-Image power the image generator behind the scenes. In the studio you choose Standard or Premium — draft on the first, finish on the second.
Kanakaw’s AI image generator runs on four leading image engines — FLUX, SDXL, Seedream and Z-Image — so the result is never locked to a single model’s habits. You do not pick an engine by name in the studio; instead you choose between two generation tiers that use them. Standard costs 6 credits per image and is the fast, everyday option: test a prompt, check a composition, generate four variations at once and keep the best. Premium costs 41 credits per image, is a members-only option, and is the choice for the finished version once the prompt already works.
The workflow that works best in practice is simple: draft with Standard until the prompt and the composition are right, then switch to Premium for the final image. A prompt that works on Standard will work on Premium — the subject, the framing and the light are already settled, so the premium generation is spent on a picture you know you want. The reverse is wasteful: spending 41 credits to test whether “a golden retriever puppy in a sunlit meadow” is the right idea at all, when a 6-credit draft would have told you the same thing.
Comparing the two tiers is easy and worth doing once: generate the same prompt on Standard and on Premium side by side. Look at the fine detail, the skin texture in a portrait, the crispness of a product shot, the way light falls across a landscape. When the difference matters — a hero image, a print, a client’s asset — Premium earns its price. When it does not — a quick draft, a social post, a test of an idea — Standard is all you need, and the credits you save pay for the next three ideas.
From a First Draft to a Finished Image: Editing Workflows
Generation is only the first step. Restyle, fix and upscale in the same place — in this order, and the result holds together.
A finished image rarely comes out perfect on the first generation. The usual path is: generate a draft, restyle it if the look is wrong, fix the details that are off, and upscale only when the picture is final. Kanakaw keeps all four steps in one AI photo editor workflow, so you never have to export to another app in between.
Image to Image: restyle a photo without losing it
Image to image starts from a picture you upload and changes its look while keeping its structure. Upload a photo, describe the change — “turn this into a watercolour painting”, “golden-hour light instead of midday sun”, “make the background a blurred city street” — and the result keeps the pose, the framing and the subject while the style, lighting or mood changes. It is the fastest way to turn an ordinary snapshot into a stylised portrait, a product shot into a seasonal campaign image, or a daytime photo into a night scene. Image to image costs 49 credits and is a members-only feature.
Inpainting: fix one part and leave the rest alone
Sometimes the image is 95% right and one detail is wrong: a stray object in the background, a sign with garbled text, a hand that looks off, a patch of sky that needs clouds. Inpainting repaints only the area you mark, leaving everything else untouched. Describe what should be there instead — or what should be removed — and the edit blends into the surrounding pixels. At 21 credits it is the cheapest fix in the toolbox, and it is the right tool whenever a full regeneration would risk losing a result you already like.
AI image upscaler: more pixels for print and large screens
The AI image upscaler increases resolution and sharpens detail, up to 4×, for images that need to survive print, a large display or a tight crop. It is most useful at the end of a job: upscale the final version, not the draft, because every edit after upscaling works on a heavier file and the extra detail does not survive another round of restyling. A typical case is a social image that also needs to work as a poster — generate at the right ratio, finish the edits, then upscale once. Upscaling costs 61 credits.
Templates: styled portraits from your own photo
Templates are the shortcut when you want a polished result without writing a prompt at all. Upload your own photo, pick a template — Couple Wedding Style, Family Portrait, Pet & Owner Bond or Professional Headshot — and the generator restyles your photo into that look. A wedding template turns a casual couple’s photo into a formal portrait; a headshot template turns a snapshot into a clean, professional profile picture; a pet template puts you and your pet in a warm, framed portrait together. Each template costs 49 credits and works from the photo you upload, so the people and pets in the result are yours.
The order matters: generate the draft first, restyle it with image to image if the look is wrong, fix small problems with inpainting, and upscale last. Skipping ahead — upscaling a draft you are still going to restyle, or inpainting a picture you later regenerate — wastes credits and usually produces a worse result than doing the steps in sequence.
Frequently Asked Questions
How much does the AI image generator cost?
Generations are charged in credits. Standard images cost a few credits each, and the cost is shown before you generate. Buy a credit pack after signing up; there is no free trial.
Can I use generated images commercially?
Yes. Subject to our Terms of Service, you may use the content you generate for personal and commercial projects.
Can I restyle one of my own photos?
Yes. Upload a photo in the generator and describe the new style, lighting or mood — the image keeps its structure while the look changes.
Which models can I choose from?
FLUX, SDXL, Seedream and Z-Image engines power text-to-image, plus image-to-image and inpainting models for restyles and edits. Choose Standard or Premium in the generator.
What resolution are the images?
High-resolution by default, in square, portrait or landscape aspect ratios. Upscale any result up to 4x for print and high-DPI displays.
How long does generation take?
Most images finish in seconds. You can watch live progress in the generator while you wait.
How do I write a good prompt for the AI image generator?
Build the prompt in five parts: subject, style, lighting, composition and mood. Say what is in the frame, name the look (photorealistic, watercolour, flat vector), add the light (golden hour, soft window light), set the framing (close-up, wide shot), and finish with one mood word such as calm or dramatic. For example: “Studio portrait of a smiling woman in her thirties, soft key light, neutral grey background, natural skin texture, 85mm lens look.”
What aspect ratio should I choose for my image?
Choose the ratio for where the image will be published. Use 16:9 for desktop banners and presentation slides, 9:16 for phone stories and vertical video covers, 1:1 for social feeds and profile pictures, 4:3 for blog headers and product listings, 3:4 for portraits and Pinterest pins, and 2:3 for posters and print. Generate in the final ratio from the start — cropping afterwards throws away pixels and often cuts the subject.
What is the difference between Standard and Premium image models?
Standard images cost 6 credits and are the fast, everyday option for drafts and casual use. Premium images cost 41 credits, are a members-only option, and are the choice for final-quality results once your prompt is already working. A good habit is to draft with Standard, settle the prompt and composition, and then spend the Premium generation on the version you will actually use.
Can I edit part of an image without changing the rest?
Yes — that is what inpainting is for. Mark the area you want to change and describe what should be there instead, or what should be removed, and only that region is repainted while the rest of the image stays untouched. Inpainting costs 21 credits, and it is the right tool when a result is nearly perfect except for one detail, such as a stray object, garbled text on a sign, or a patch of sky that needs clouds.
How does the AI image upscaler work, and when should I use it?
The upscaler increases an image’s resolution and sharpens its detail, up to 4×, so it holds up in print, on large screens and under a tight crop. It costs 61 credits. Use it last, after the image is final — upscale the finished version, not a draft you still plan to restyle, because extra detail does not survive another round of editing.